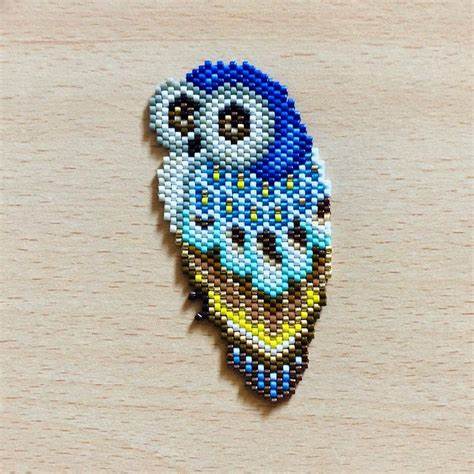
Designing Miyuki bead jewelry can be a fun and creative process. From choosing the colors and patterns of the beads to creating your own unique designs, there are many steps involved in designing your jewelry. Here is a step-by-step guide to help you get started.
Choose your beads: First, select the Miyuki beads you want to use in your jewelry design. Consider the colors, shapes, and finishes that you like, and select beads that complement each other.
Create a color palette: Consider the colors you want to use in your design, and choose a color palette that reflects your personal style. You can choose from a wide range of colors, from vibrant and bold to soft and muted.
Decide on a design: Think about the style and look you want for your jewelry, and create a rough sketch of the design. You can use a paper and pencil, or an online tool to create your design.
Choose a technique: Decide whether you want to use bead weaving or stringing as your technique for making your jewelry. Bead weaving requires a loom, while stringing only requires cord or wire and crimp beads.
Plan your pattern: Once you've decided on your design, create a detailed pattern for your jewelry. This pattern will help guide you as you work on your piece.
Start making: With your pattern in hand, start stringing or weaving your beads according to your design. Take your time, and make any necessary adjustments as you go.
Finish: When you've completed your jewelry design, secure your beads with crimp beads or knots, and add a clasp to finish the piece.
Designing Miyuki bead jewelry can be a fun and satisfying process, and the end result is a beautiful piece of jewelry that you can wear and show off to your friends and family. With these steps in mind, you're ready to start creating your own unique designs.
Links
About Us
Our product
Gallery
Blog
Contact Us
Cookie Notice
Terms And Conditions
Service & Security Highlights
About
London Miyuki All rights reserved.
ZeplinGo® | Website Design Prepared with.


