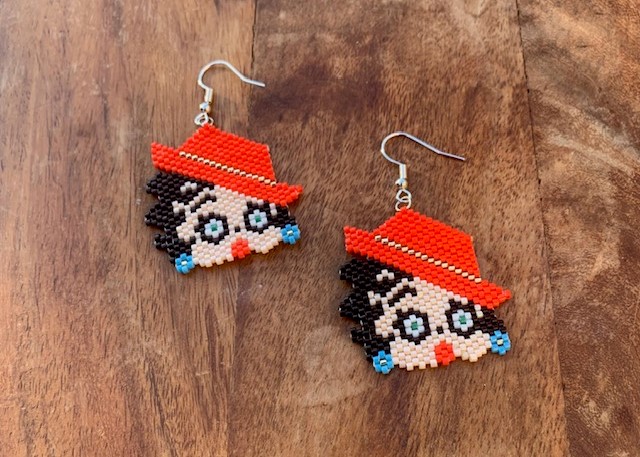
Making your own Miyuki bead bracelets and necklaces is a fun and creative hobby that can be done at home with the right tools and materials. Here are the steps to get started:
Step 1: Gather materials: To make Miyuki bead jewelry, you will need Miyuki beads, beading thread or wire, clasps, and pliers.
Step 2: Choose a pattern: There are many patterns and designs to choose from, including simple stringing patterns and more complex bead weaving patterns. Decide on the design you want to make and gather the necessary beads and materials.
Step 3: String the beads: Start by cutting a length of beading thread or wire and threading it through a bead needle. Then, string the beads in the pattern you have chosen. You can use pliers to crimp the beads in place if necessary.
Step 4: Add the clasp: Once you have strung all the beads, add a clasp to one end of the bracelet or necklace. You can choose from a variety of clasps, such as lobster claws, magnetic clasps, or toggle clasps.
Step 5: Secure the ends: Cut the excess beading thread or wire and secure the ends. You can use crimping beads or pliers to secure the ends of the wire.
Step 6: Enjoy your new Miyuki bead jewelry: Your Miyuki bead bracelet or necklace is now complete! Enjoy wearing your new piece of jewelry and be proud of your handiwork.
In conclusion, making Miyuki bead jewelry is a fun and creative hobby that can be done at home with a few simple tools and materials. With a little patience and practice, you can create beautiful and unique Miyuki bead bracelets and necklaces that you'll be proud to wear.
Links
About Us
Our product
Gallery
Blog
Contact Us
Cookie Notice
Terms And Conditions
Service & Security Highlights
About
London Miyuki All rights reserved.
ZeplinGo® | Website Design Prepared with.


