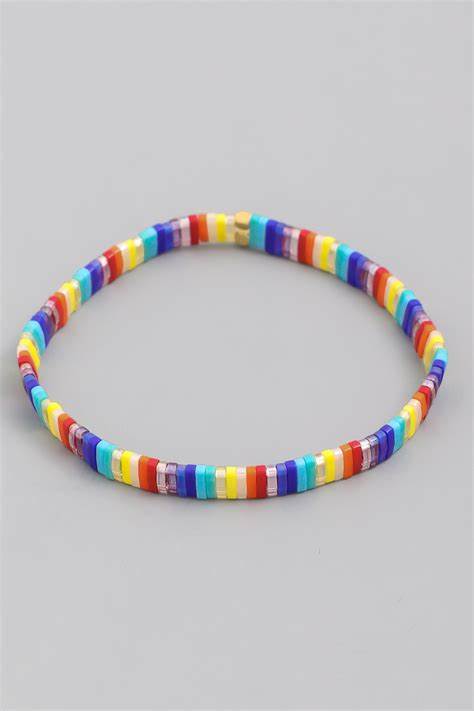
Miyuki beads have become increasingly popular in the fashion world due to their intricate detailing, vast array of colors and finishes, and durability. If you're interested in creating your own Miyuki beaded jewelry, the good news is that it's easy and fun to do. Here's a step-by-step guide on how to make your own Miyuki beaded jewelry.
Choose your beads The first step in making Miyuki beaded jewelry is to choose the beads you want to use. Miyuki beads come in a variety of sizes, shapes, colors, and finishes. Consider the design you want to create and choose beads that will complement each other.
Choose your stringing material The next step is to choose your stringing material. Some popular options include beading thread, wire, or cord. Choose a stringing material that is appropriate for the weight of your beads and the design you have in mind.
Choose your tools To create Miyuki beaded jewelry, you'll need a few basic tools, including scissors, pliers, and a beading needle. Make sure you have these tools on hand before you begin.
Plan your design Before you start beading, plan out the design of your jewelry. Consider the length, color, and style of the piece you want to create. It's helpful to sketch out your design before you start beading.
Thread your needle Once you have your design planned out, it's time to thread your needle. Cut a length of stringing material and thread it through the eye of the beading needle. Tie a knot at the end of the string to keep the beads from falling off.
Begin beading Start by adding your first bead to the string. Make sure the bead is snug against the knot at the end of the string. Add the next bead and continue until you have the desired length or pattern.
Secure the beads Once you've added all of your beads, tie a knot at the end of the string to secure them in place. You can also add a crimp bead or a bead tip to the end of the string to keep the beads from sliding off.
Add a clasp If you're making a bracelet or necklace, you'll need to add a clasp. There are a variety of clasp options available, including lobster clasps, toggle clasps, and magnetic clasps. Choose a clasp that complements your design and attach it to the ends of the string.
Finish your piece Once you've added the clasp, your Miyuki beaded jewelry is complete! Trim any excess string and make sure the knots and clasps are secure.
Making your own Miyuki beaded jewelry is a fun and creative way to express your personal style. With a few basic tools and some creativity, you can create beautiful and unique jewelry that is sure to turn heads. Whether you're a beginner or an experienced beader, Miyuki beads offer endless possibilities for creating stunning designs. So why not give it a try and see what you can create!
Links
About Us
Our product
Gallery
Blog
Contact Us
Cookie Notice
Terms And Conditions
Service & Security Highlights
About
London Miyuki All rights reserved.
ZeplinGo® | Website Design Prepared with.


