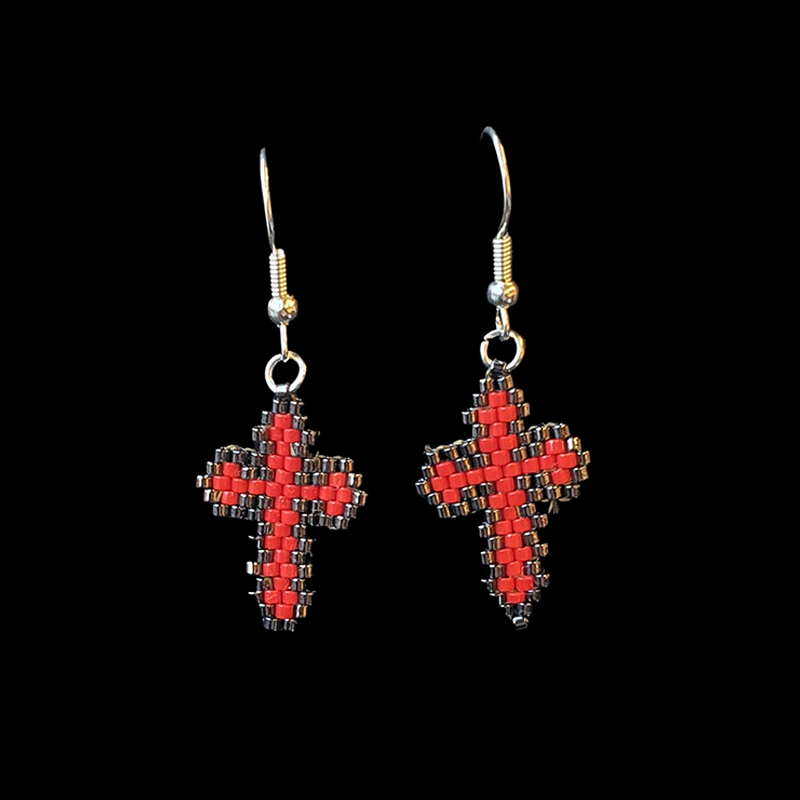
Miyuki beads are perfect for bead loom weaving due to their consistent size, shape, and quality. Whether you're a beginner or an experienced jewelry maker, bead loom weaving with Miyuki beads is a fun and rewarding experience. In this ultimate guide, we'll cover everything you need to know about bead loom weaving with Miyuki beads.
Materials
To get started with bead loom weaving, you'll need a few essential materials:
A bead loom: This is a frame with pegs or nails that hold the warp threads in place.
Warp threads: These are the threads that run vertically through the bead loom and hold the beads in place.
Miyuki beads: Choose your favorite colors and sizes of Miyuki beads to create your design.
Beading needle: This is a thin needle with a small eye that can fit through the holes of Miyuki beads.
Thread: Use a strong thread, such as nylon or silk, to weave the beads together.
Scissors: You'll need scissors to cut the warp threads and the beading thread.
Techniques
Now that you have your materials ready, let's dive into the techniques of bead loom weaving with Miyuki beads:
Setting up the bead loom: Start by attaching the warp threads to the loom. Tie one end of the thread to the first peg or nail on the top of the loom, then wrap the thread around each peg or nail on the bottom of the loom. Finish by tying the thread to the last peg or nail on the top of the loom.
Adding the Miyuki beads: Thread your beading needle with the beading thread and start adding Miyuki beads to the warp threads. Insert the needle through the first bead on the bottom row and then through the corresponding bead on the top row. Continue adding beads until you reach the end of the row.
Weaving the rows: After completing the first row, turn the loom over and weave the beads back in the opposite direction. Weave the beads under and over the warp threads until you reach the end of the row.
Finishing the project: When you've finished weaving all the rows, tie off the beading thread and cut the warp threads. You can then attach a clasp or a jump ring to complete your beaded bracelet or necklace.
Tips
Here are some tips to make your bead loom weaving with Miyuki beads easier and more enjoyable:
Choose a pattern: Before you start weaving, choose a pattern for your design. You can find many patterns online or create your own.
Use the right size Miyuki beads: Choose Miyuki beads that are the right size for your project. Size 11/0 or 8/0 Miyuki beads are popular choices for bead loom weaving.
Keep the tension consistent: Consistent tension is key to creating a beautiful and even weave. Make sure to keep the warp threads tight and the beading thread at a consistent tension.
Take breaks: Bead loom weaving can be time-consuming, so take breaks to avoid eye strain and hand fatigue.
Conclusion
Bead loom weaving with Miyuki beads is a fun and rewarding experience. With the right materials, techniques, and tips, you can create beautiful and intricate designs with Miyuki beads. Experiment with different colors and patterns to create unique and personalized jewelry pieces that you'll love to wear or give as gifts.
Links
About Us
Our product
Gallery
Blog
Contact Us
Cookie Notice
Terms And Conditions
Service & Security Highlights
About
London Miyuki All rights reserved.
ZeplinGo® | Website Design Prepared with.


