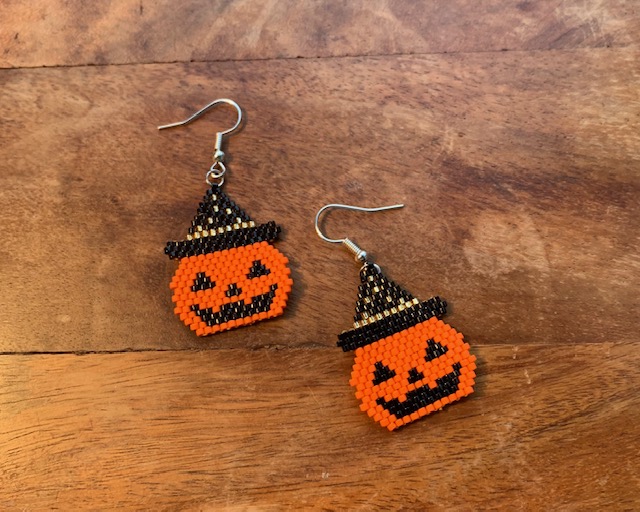
Miyuki beads are a popular choice among jewelry makers due to their high quality and versatility. However, achieving perfect Miyuki beading can be challenging, especially for beginners. In this comprehensive guide, we will explore the secrets to perfect Miyuki beading, including selecting the right tools and materials, understanding beading techniques, and troubleshooting common issues.
Selecting the Right Tools and Materials
Selecting the right tools and materials is crucial to achieving perfect Miyuki beading. Here are some essential tools and materials you will need:
Miyuki Beads: Miyuki beads come in various sizes, shapes, and finishes. When selecting Miyuki beads, consider the type of project you are working on and the desired outcome.
Beading Thread: Beading thread is essential for Miyuki beading, as it holds the beads together. Select a high-quality beading thread that is strong and durable.
Beading Needles: Beading needles are thin, flexible needles used to string Miyuki beads. Select a beading needle that fits the size of the Miyuki beads you are working with.
Beading Mat: A beading mat is a soft, non-slip mat used to prevent Miyuki beads from rolling away and getting lost.
Understanding Beading Techniques
Understanding beading techniques is critical to achieving perfect Miyuki beading. Here are some common beading techniques used in Miyuki beading:
Ladder Stitch: Ladder stitch is a basic beading technique used to create a foundation for Miyuki beading. It involves weaving Miyuki beads back and forth between two parallel threads to create a ladder-like structure.
Brick Stitch: Brick stitch is a beading technique used to create a pattern of Miyuki beads that resemble the pattern of bricks. It involves adding Miyuki beads to the side of the previous row of Miyuki beads.
Peyote Stitch: Peyote stitch is a beading technique used to create a flat, woven surface using Miyuki beads. It involves stitching Miyuki beads in a diagonal pattern to create a diamond-shaped pattern.
Troubleshooting Common Issues
Miyuki beading can be frustrating at times, but understanding common issues and how to troubleshoot them can help you achieve perfect Miyuki beading. Here are some common issues and how to troubleshoot them:
Tangled Beading Thread: Tangled beading thread can occur when working with long strands of thread. To prevent tangled beading thread, use shorter strands of thread and avoid twisting the thread as you work.
Loose Tension: Loose tension can result in uneven and messy Miyuki beading. To avoid loose tension, pull the beading thread tightly after adding each Miyuki bead.
Uneven Rows: Uneven rows can occur when working with different sizes of Miyuki beads. To avoid uneven rows, sort the Miyuki beads by size and color before starting your project.
Conclusion
Achieving perfect Miyuki beading requires patience, practice, and attention to detail. By selecting the right tools and materials, understanding beading techniques, and troubleshooting common issues, you can achieve perfect Miyuki beading and create stunning beaded jewelry designs. Remember to take your time, experiment with different techniques and styles, and enjoy the process of Miyuki beading.
Links
About Us
Our product
Gallery
Blog
Contact Us
Cookie Notice
Terms And Conditions
Service & Security Highlights
About
London Miyuki All rights reserved.
ZeplinGo® | Website Design Prepared with.


